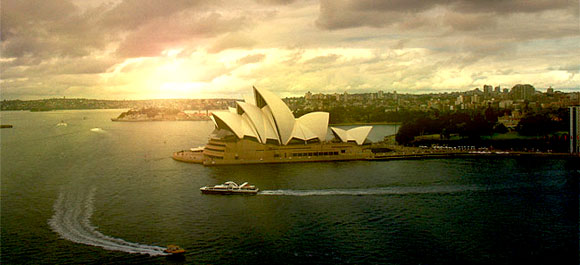
I have always been impressed by the surreal, peaceful lightings of scenic places I see in films. Unfortunately, I do not get to see them in real life (yet). However, with Photoshop, I am able to create such lightings with one of my favourite scenery.
Preparation:
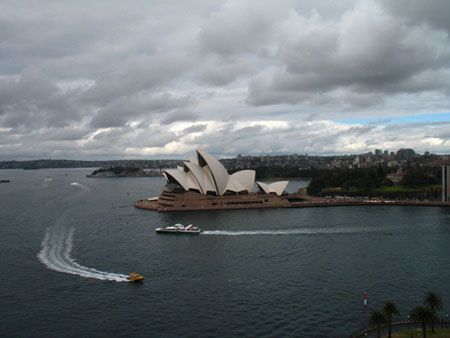
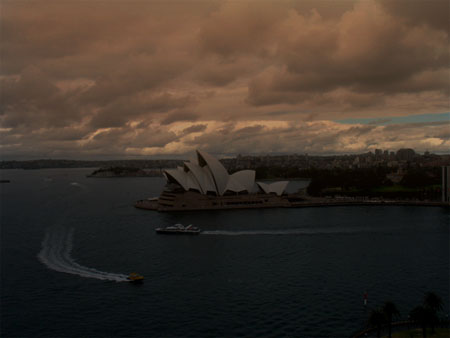
You will need an image similar to this. Preferably, one which you can clearly see the skyline.
Step 1:
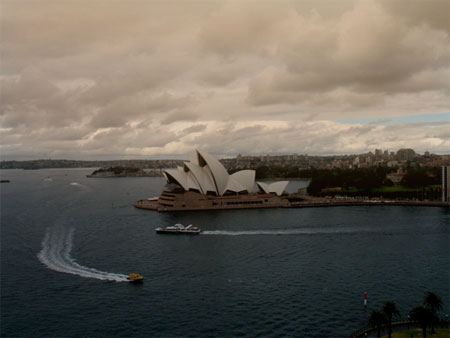
Use soft brush (opacity 10%, black colour), and paint 1 to 2 times below the sky area. Then using the same brush opacity, change the colour to #ad651a and go over the sky area (you may use a lighter colour, but try not to make it go any darker). You will have something similar like the image below.
Step 2.
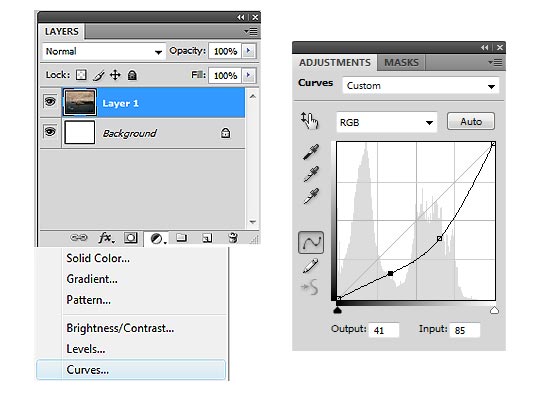
Now click on the icon beside the quick mask. This will create a new fill or adjustment layer. Choose Curves and adjust the graph to the picture below.
Result after adjustment of curves:
Step 3.
Add a new layer below the Curves layer, Set foreground colour to Black. Fill it with Black (Alt+Backspace).
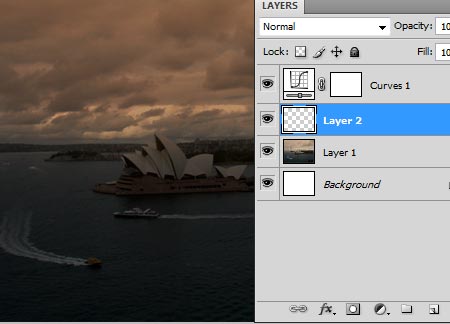
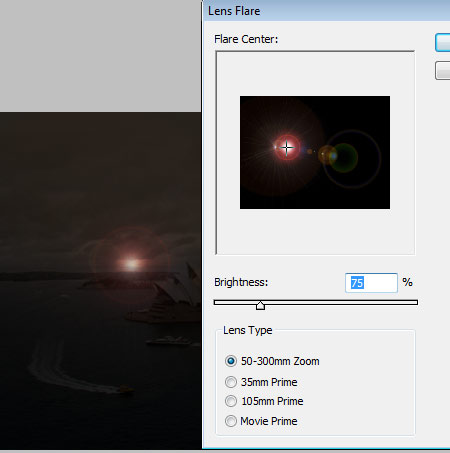
Bring down the opacity of the Black filled layer to about 60% (so that you know where to place the lens flare in the image). Go to Filter - Render - Lens Flare. Adjust to the settings below.
Step 4.
Go to Filters - Blur - Gaussian Blur. Radius 10 pixels.
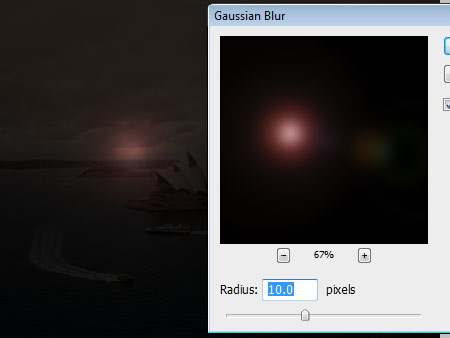
Bring the opacity level of the Black layer up to 100%.
Now, we are going to create light rays from the flare.
Choose Soft Round Brush with the color #ffe01a, opacity 10%. Start brushing down from the point of the flare, keep brushing down until you have something like this.
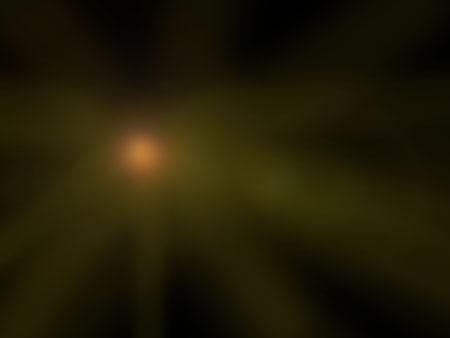
Go to Blending Mode - Linear Dodge (Add).
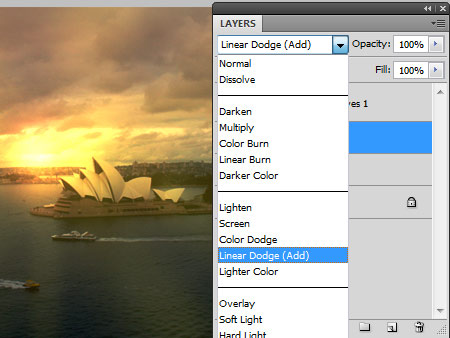
Step 5.
Duplicate the layer and change blending mode to Screen. Bring the opacity down of the layer to about 40%. This is what you will get.
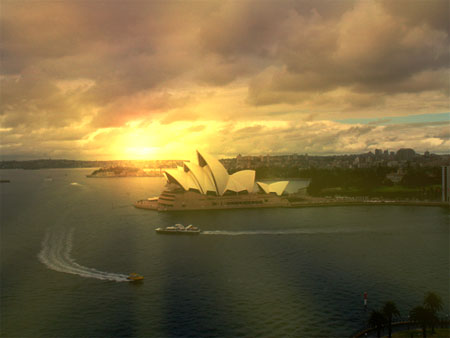
If you think the image is still too dark, you may duplicate it again and adjust its opacity level.
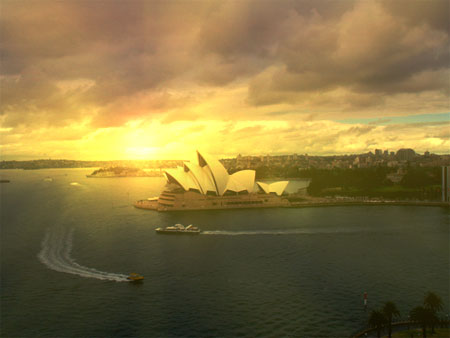
Using the same brush colour #ffe01a, opacity 10% or lesser, work on the skyline area, so that the lighting is blend in nicely. You may also use the eraser tool to erase some light on the opera house (if it gets too washed out).
Step 6.
We are almost there. Select the whole canvas (Ctrl + A), Edit - Copy Merged (Shift + Ctrl + C), Open a new canvas (Ctrl + N), Paste the image on this new canvas (Ctrl + V).
We are now going to fix the blue portion at the right hand side of sky.
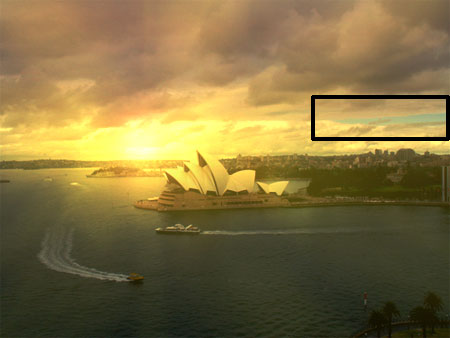
Use the Lasso Tool, Feather: 2 Px. Select the above the blue part of the sky. Copy (Ctrl + C) and Paste (Ctrl +P).
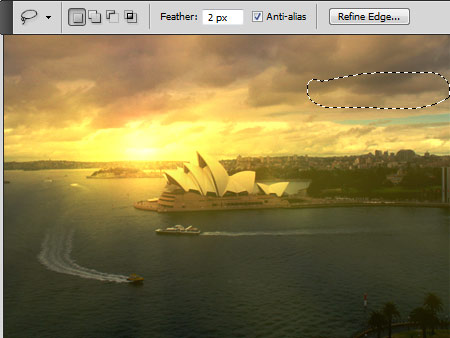
This will cover the blue patch in the sky.
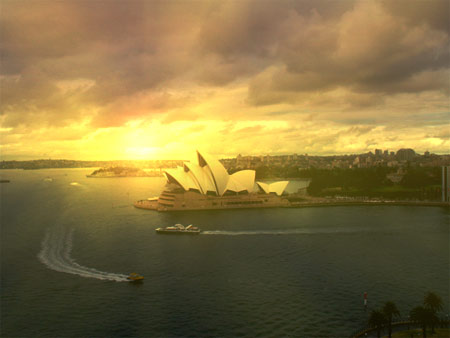
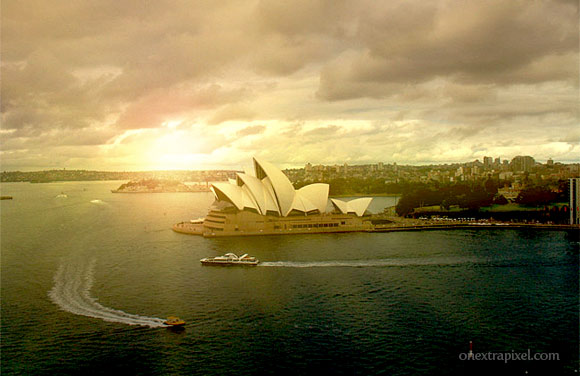
You may wish to adjust the Levels, Curves and Colour Balance on the final image like what I have done below. Hope you like this tutorial.
No comments:
Post a Comment