Monday, 8 August 2011
Design a Shattered Crystal Text with Great Lighting Effect in Photoshop
In this tutorial, I will show you the steps I took to Design a Shattered Crystal Text with Great Lighting Effect in Photoshop. We will go over some simple Photoshop techniques such as the use of Photoshop brush settings, lighting effects, layer blending mode, and some filter effect, have a try :)
For your next business card printing press run, put your best foot forward with carefully thought out design work.
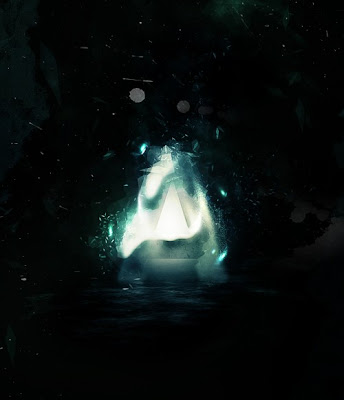
Here is a preview of the final effect I have for this tutorial: (click to enlarge)
Step 1
Create a new document (size doesn't really matter in this tutorial) with black background. Create a new layer on top of the background layer, and use the cloud brushes you downloaded to paint a subtle layer of cloud - you can achieve this effect by setting the flow and opacity of the brush to around 20%:

Duplicate this cloud layer once, use the free transform tool to compress the cloud layer down to form some ground texture as shown below:
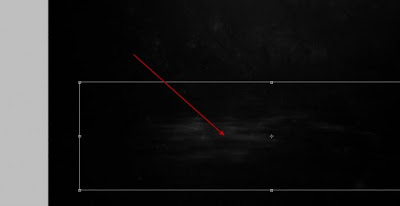
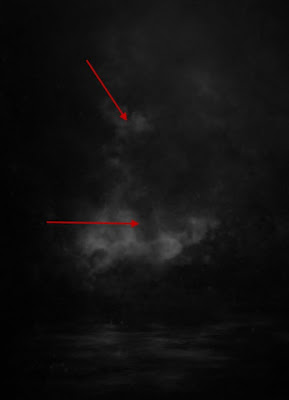
Create a new layer on top of those two layers. Again we can add some more cloud to this new layer - this time we increase the cloud brush flow and opacity to around 50% to produce some more visible cloud effect. Use a soft eraser tool to remove the edges so it fades into the background:
Step 2
Use Any Bold Font you like, type a letter onto the centre of the canvas:

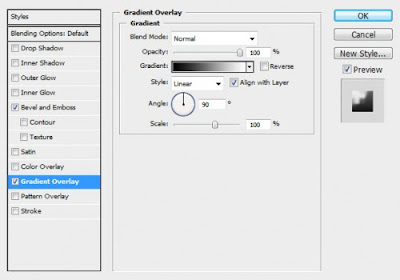
On this new text layer, apply the following layer blending options:
Bevel and Emboss
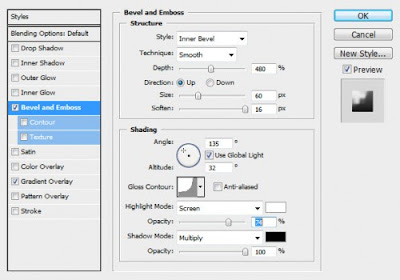
Gradient Overlay
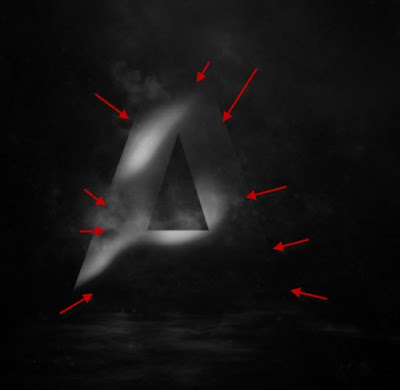
Add a layer mask onto this text layer, use a soft eraser to remove the edges of the text as shown below and make it blend into the background cloud:
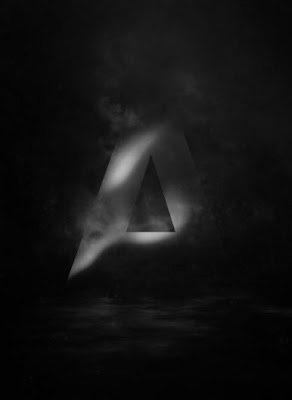
and you will have the following effect so far:
Step 3
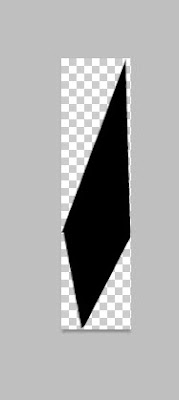
Now let's make a particle brush to produce some shattered effect for the text. Create a new document sized 70px * 280px, create a new layer on top of the background layer and use the Polygonal Lasso Tool to draw a selection as shown below on this new layer:
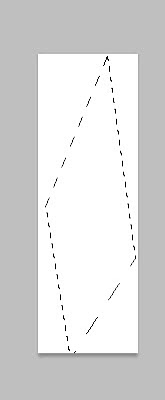
Fill this selection with black colour and turn off the background layer:
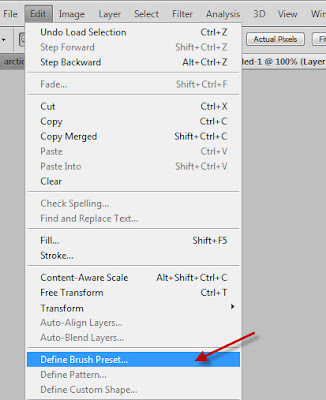
Go to Edit -> Define Brush Preset and make a new brush:
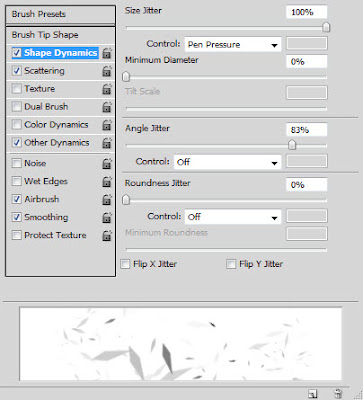
Press F5 to bring up the brush settings window, apply the following options:
Shape Dynamics
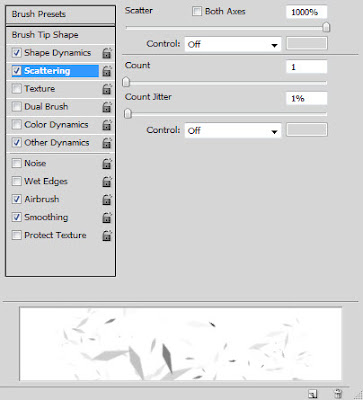
Scattering
Other Dynamics
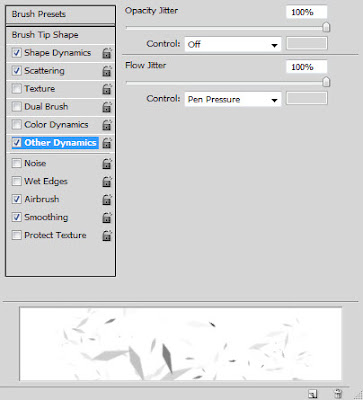
Also tick the Airbrush and Smoothing options.
Create a new layer and use this brush we just made, paint some small particles on the positions shown below: (reduce the brush tip size to a smaller scale before you paint)
Sides
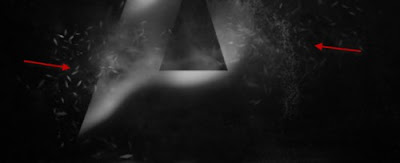
Top
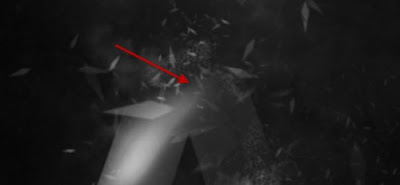
Make sure you use a soft eraser to erase the edges of the particles paint so they fade into the background:
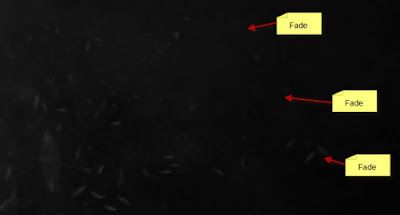
Create a new layer and again use the cloud brush to paint some cloud over the text, as shown below: (Apply 20% flow and opacity setting for the cloud brush you chose for a subtle effect)
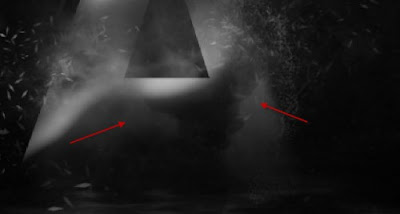
and here is the effect you will have so far:
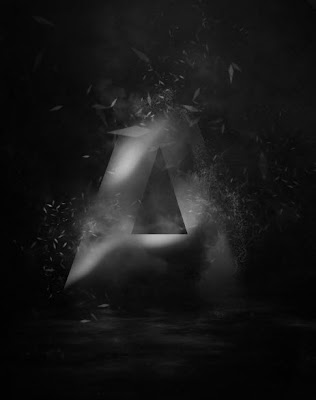
Create a new layer directly before the text layer, use a soft white brush (size approximately the same as the letter) to do a single click on the centre portion - this will create a spot light effect for the text:
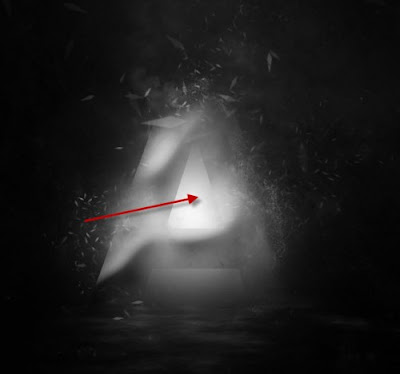
Step 4
Add some colors of your choice the image - you can do so via colour balance adjustment layer, or simply use a soft brush with colors and paint over a new layer (set layer blending mode to "soft light", "overlay" or "color")
Now we can add some crystal effect to this text - Let's flatten the image (make sure you save a layered copy before doing so). Duplicate this background layer once and go to Filter -> Pixelate -> Crystallize and apply the following settings on the duplicated layer:
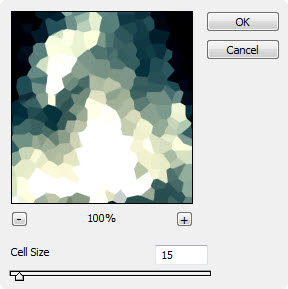
And you will have the following effect:
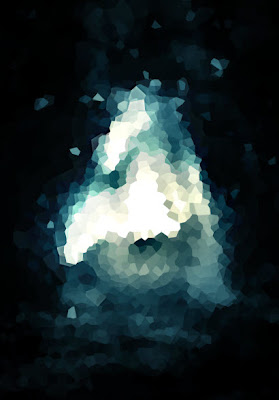
Change the layer blending mode of this layer to "screen", and erase some portion of this crystal layer with a soft eraser so it won't cover the whole image:
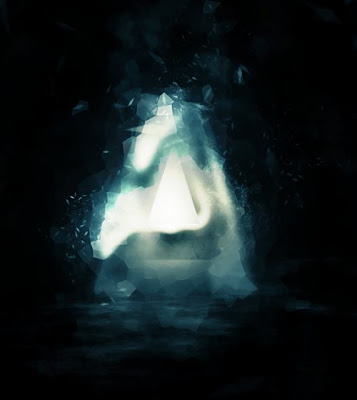
Step 5
We're almost done! For some final touches, we can add some lighting effect around the text by brush tool and lens flare filter. The steps are quite simple - grab a soft white brush and do a single click on a new layer:
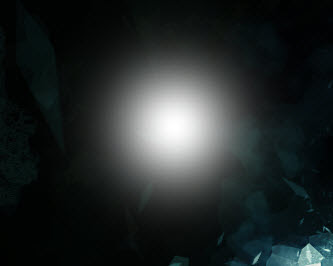
Hit Ctrl + T and right-click within the selection, choose the Warp option and warp this layer as shown below:
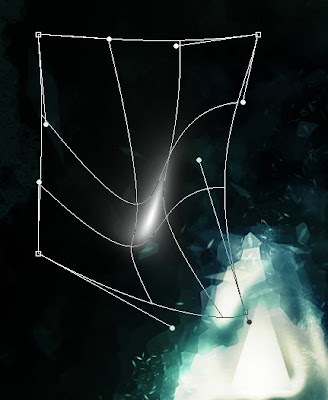
We can then attach those warped light effect to a desired position on the text:
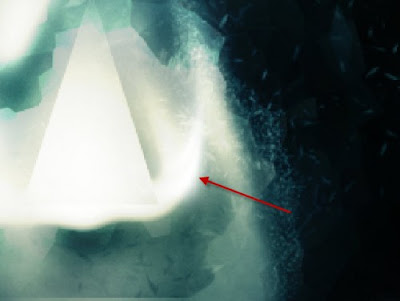
You can also add light effect via Lens Flare filter - create a new layer and fill it with black colour, render the following Lens flare on this new layer:
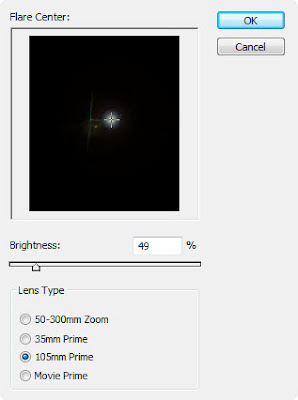
Change the blending mode to "color dodge", resize and warp this lens flare layer as shown below:
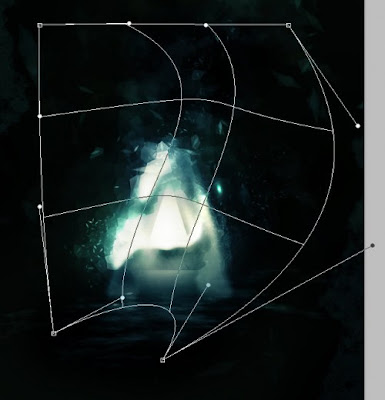
And you will have the following effect:
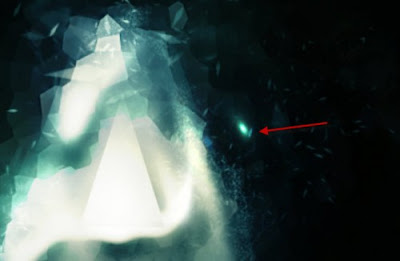
Duplicate this Lens Flare layer a few times, rotate and scatter them around the text:
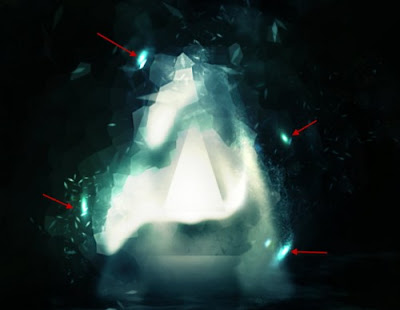
Some further colouring and lighting effect are added as well, with some splatter brush paint using splatter brushes downloaded at the beginning of the tutorial, and here is the final effect I have for this tutorial: (click to enlarge)

That's it for this Photoshop tutorial! I hope you enjoy this and find it useful and inspirational. Till next time, have a great day!
How to Design a Geometric Poster in Photoshop
How to create a geometric poster in photoshop
Last week I came across a great set of geometric posters. Soon, I thought of documenting the process of creating a similar poster and share this tutorial with the readers of Pixelonomics. The implementations of this tutorial are far beyond than just creating a poster. Also, it is easier to create a similar poster in Illustrator if you are familiar with its interface and working. The reason for using photoshop as a tool here is just to assist the fellow users. On that note, we should attempt a similar tutorial for illustrator very soon.
Let's get started with our poster. The first thing that needs our attention is the size of our poster. Considering it is a poster, there are good chances that we will eventually print it. Side note: if we are working on anything that has to go for print, it must have a resolution of 300dpi. If you would like to know more about creating files for printing, please leave a comment about the same and we shall soon do a couple of posts on the same.
Final Result
Here is a preview of what we are trying to create.
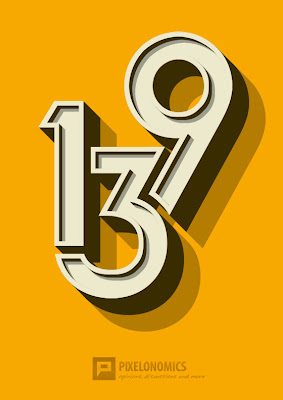
Final geometric poster
Setting up the Photoshop file
1. Create a new file (Ctrl + N). In the New file dialog box, set the Width and Height units to pixels (if it isn't already). We're creating an A4 size file; set the width to 2480 and the height to 3508 pixels. We're creating a graphic for print, as mentioned before, so set the Resolution to 300 pixels/inch.
Setup photoshop file
2. Choose a color (#f7a901)and use the paint bucket tool (or Alt + Backspace) to fill in the base color to Background layer.

Add base color
Adding the main Graphic
3. Using the horizontal type tool (T), type any word you like. I chose to write a number 139, using the Chalet-Tokyo font in 450px size, color (#ede9cc) and aligned them, like the graphic below.

Type a word
4. Select the text layers in the layer panel (ctrl + click layers that need to be selected), right click them and choose Rasterize Type. This will convert text layers from vector to raster and help us with their fine-tuning.
Rasterize type
5. Words may need a bit of fine-tuning to fit the layout and form a better graphic. Here is a quick list of editing done using Polygonal Lasso Tool (L) that was required to fine-tune "139" as per the graphic alignment.
The height of 1 was decreased a bit and its tip was slant-cut.
The tip of 3 is decreased to create a visual spacing between 1 and 3. Also, the neck of 3 is adjusted to align itself to the tail of 9.
The tail of 9 is extended and its end is curved to lock itself close to 3.

Rename the merged layer
Next, we need to add depths and shadows, both outside and inside.
Adding outside depth
7. To create depth, we need to duplicate the Main Graphic layer. Press Alt + push the Right key on your keyboard. Now without pressing Alt, press the down key. This layer would automatically be named Main Graphic copy. In the layers panel, drag this new layer below the Main Graphic layer.
8. Again, press Alt + push the right key. Without pressing Alt, press the down key. Repeat this process several times to have a considerable amount of depth. Select the layer just below Main Graphic (Top but one layer) and holding shift key, select the layer just above the Background Layer. Merge them as described in 6th step. Name this layer Outer Depth.
Name this layer Outer Depth
9. Make sure Outer Depth is selected. Go to Layer -> Layer Style -> Color Overlay. Choose color: # 392c02.
Color overlay
10. If you see your poster at 100% view, some of the edges will look jagged. Let's quickly clean these edges. Using Polygonal Lasso Tool (L), select the edges and press the delete key. Repeat the process for all the edges that require cleaning. Voila! You just added a solid depth to your graphic.
Clean the edges
Adding outer shadow
11. Holding Shift + Alt key, drag the graphic diagonally down-right to double the depth. Name this layer Outer Shadow and in the layers panel, drag it below the layer Outer Depth. Use color overlay to change the color of this layer to # b47c01. Looks good, doesn't it?
Creating thick edges to highlight inner depth and shadow
12. In the layers panel, right-click Main Graphic and Duplicate layer. Let's name it Thick Edges.
Name it Thick Edges
13. Create a marquee selection around the shape by Ctrl + clicking on Thick Edges layer's thumbnail in the Layers Panel. Select -> Modify -> Contract (Alt + S + M + C) to contract the selection by 40 pixels. You may vary the number of pixels, depending on how thick you want the edges to appear.
Contract selection
14. Press delete to remove the selected area. Select -> Deselect (Ctrl + D) to deselect the selection.
15. At 100% view, some of the inside edges will look ill-defined. Using pen-tool (P), define the edges. Repeat the same for all ill-defined edges. Ctrl-select these new layers and merge them. Press Ctrl + E to merge the new layer with Thick Edges. This is the area that will highlight the inner depth and shadow.
Ill-defined edges
Adding inner depth and shadow
16. Press Alt + push the right key. Without pressing Alt, press the down key. Color overlay it to # 392c02. Repeat this process about six times. Ctrl-select all the layers above Thick Edges and merge them. Clean the edges as described in 10th step. Name it Inner Depth.
Name this layer Inner Depth
17. Again, holding Shift + Alt key, drag the graphic diagonally down-right to double the depth. Name this layer Inner Shadow and in the layers panel, drag it below the layer Inner Depth. Color overlay it to # 9c9d8d.
Name this layer Inner Shadow
18. Marquee select the Main Graphic. Shift + Ctrl + I to invert the selection. Select Inner Depth and press delete. Repeat it with Inner Shadow and deselect the selection.
19. Move the Thick Edges layer to top of layers panel and see the magic.
20. Add your logo, a headline or a message and have fun with this Geometric poster!
Here is the final result!
Hope you like it! Adapt it to your artwork, style and share it with us.
Final geometric poster


