In this tutorial, I will show you the steps I took to Design a Shattered Crystal Text with Great Lighting Effect in Photoshop. We will go over some simple Photoshop techniques such as the use of Photoshop brush settings, lighting effects, layer blending mode, and some filter effect, have a try :)
For your next business card printing press run, put your best foot forward with carefully thought out design work.
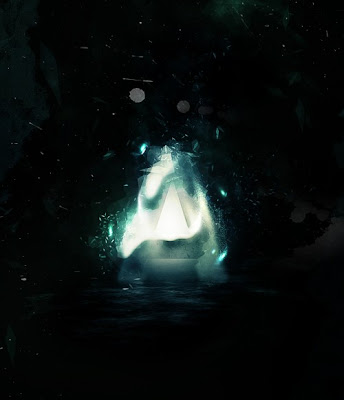
Here is a preview of the final effect I have for this tutorial: (click to enlarge)
Step 1
Create a new document (size doesn't really matter in this tutorial) with black background. Create a new layer on top of the background layer, and use the cloud brushes you downloaded to paint a subtle layer of cloud - you can achieve this effect by setting the flow and opacity of the brush to around 20%:

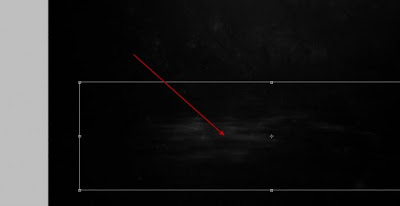
Duplicate this cloud layer once, use the free transform tool to compress the cloud layer down to form some ground texture as shown below:
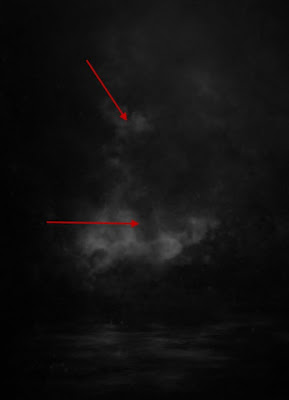
Create a new layer on top of those two layers. Again we can add some more cloud to this new layer - this time we increase the cloud brush flow and opacity to around 50% to produce some more visible cloud effect. Use a soft eraser tool to remove the edges so it fades into the background:
Step 2
Use Any Bold Font you like, type a letter onto the centre of the canvas:

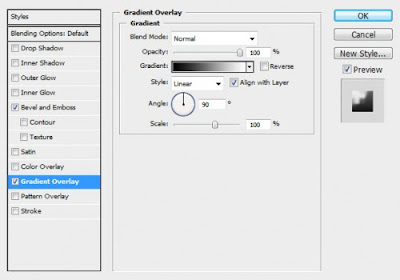
On this new text layer, apply the following layer blending options:
Bevel and Emboss
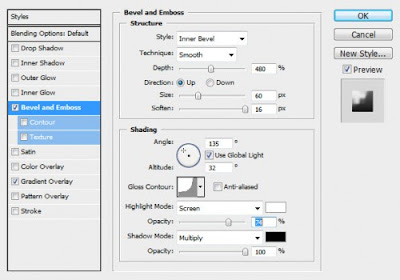
Gradient Overlay
Add a layer mask onto this text layer, use a soft eraser to remove the edges of the text as shown below and make it blend into the background cloud:
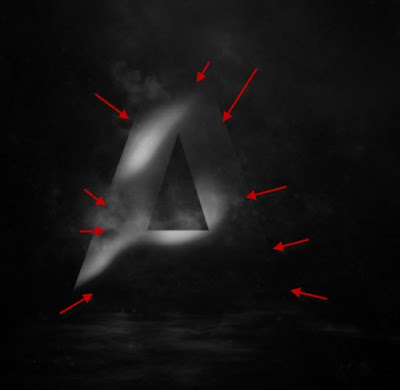
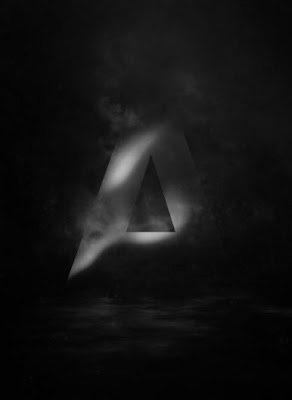
and you will have the following effect so far:
Step 3
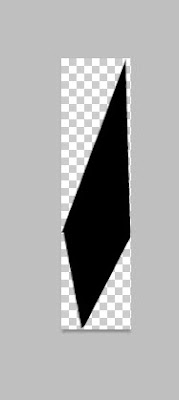
Now let's make a particle brush to produce some shattered effect for the text. Create a new document sized 70px * 280px, create a new layer on top of the background layer and use the Polygonal Lasso Tool to draw a selection as shown below on this new layer:
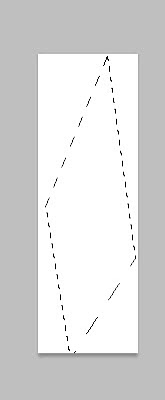
Fill this selection with black colour and turn off the background layer:
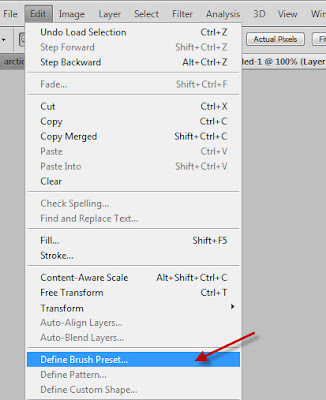
Go to Edit -> Define Brush Preset and make a new brush:
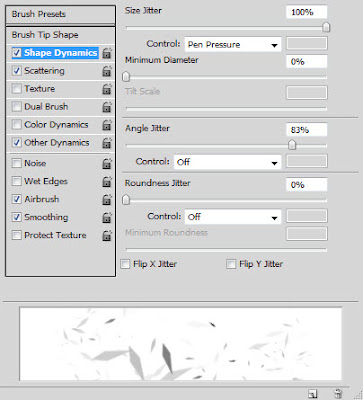
Press F5 to bring up the brush settings window, apply the following options:
Shape Dynamics
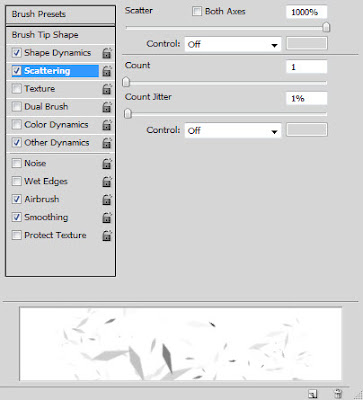
Scattering
Other Dynamics
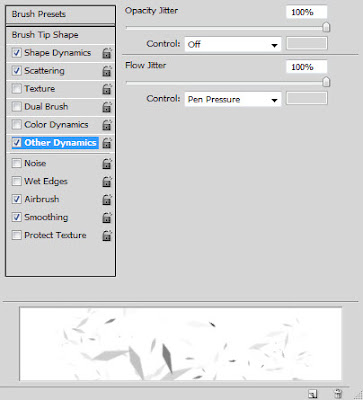
Also tick the Airbrush and Smoothing options.
Create a new layer and use this brush we just made, paint some small particles on the positions shown below: (reduce the brush tip size to a smaller scale before you paint)
Sides
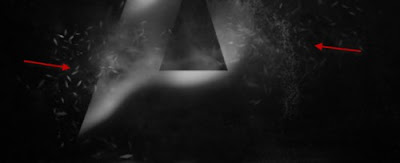
Top
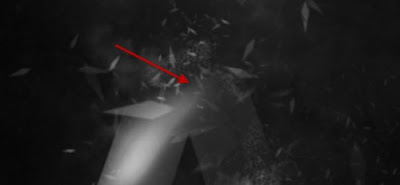
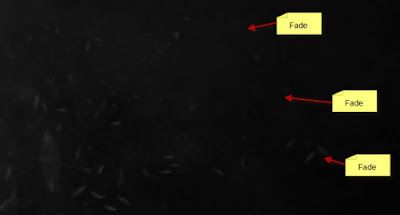
Make sure you use a soft eraser to erase the edges of the particles paint so they fade into the background:
Create a new layer and again use the cloud brush to paint some cloud over the text, as shown below: (Apply 20% flow and opacity setting for the cloud brush you chose for a subtle effect)
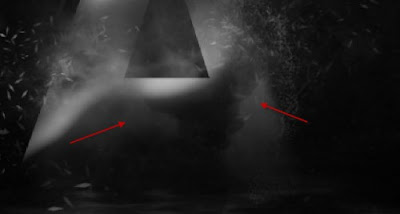
and here is the effect you will have so far:
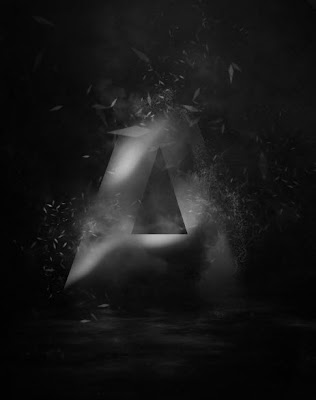
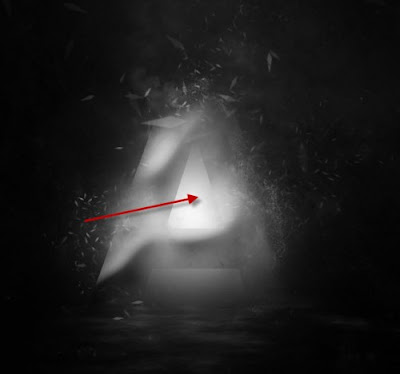
Create a new layer directly before the text layer, use a soft white brush (size approximately the same as the letter) to do a single click on the centre portion - this will create a spot light effect for the text:
Step 4
Add some colors of your choice the image - you can do so via colour balance adjustment layer, or simply use a soft brush with colors and paint over a new layer (set layer blending mode to "soft light", "overlay" or "color")
Now we can add some crystal effect to this text - Let's flatten the image (make sure you save a layered copy before doing so). Duplicate this background layer once and go to Filter -> Pixelate -> Crystallize and apply the following settings on the duplicated layer:
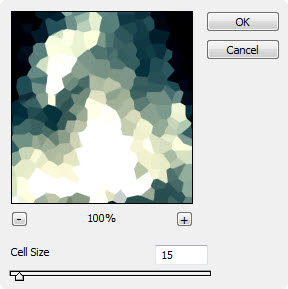
And you will have the following effect:
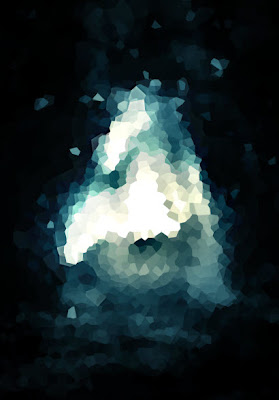
Change the layer blending mode of this layer to "screen", and erase some portion of this crystal layer with a soft eraser so it won't cover the whole image:
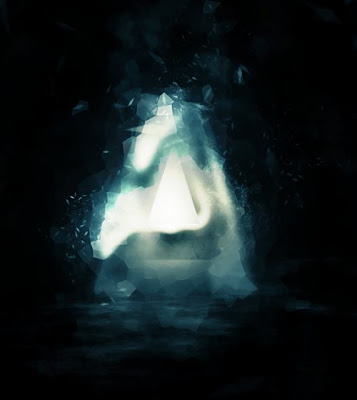
Step 5
We're almost done! For some final touches, we can add some lighting effect around the text by brush tool and lens flare filter. The steps are quite simple - grab a soft white brush and do a single click on a new layer:
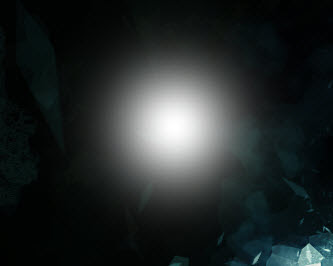
Hit Ctrl + T and right-click within the selection, choose the Warp option and warp this layer as shown below:
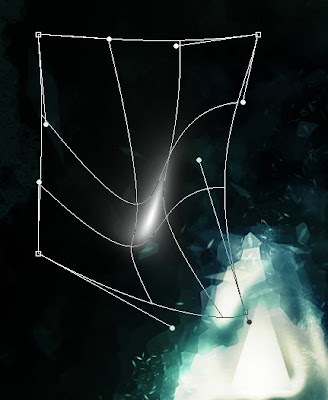
We can then attach those warped light effect to a desired position on the text:
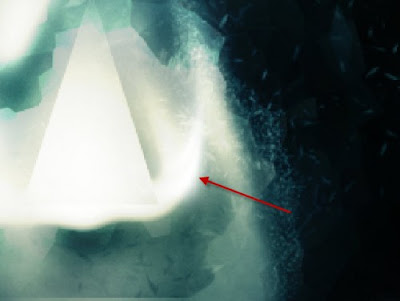
You can also add light effect via Lens Flare filter - create a new layer and fill it with black colour, render the following Lens flare on this new layer:
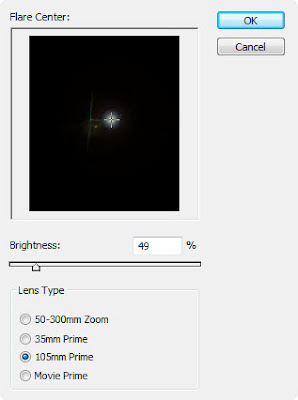
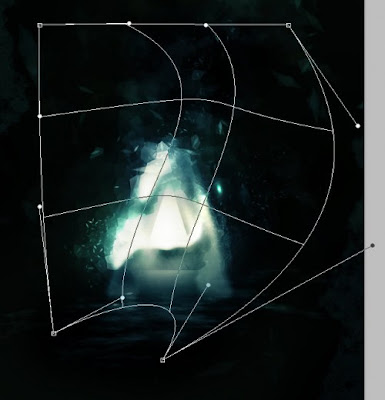
Change the blending mode to "color dodge", resize and warp this lens flare layer as shown below:
And you will have the following effect:
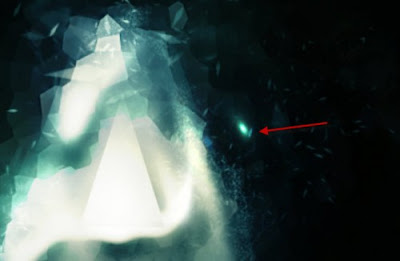
Duplicate this Lens Flare layer a few times, rotate and scatter them around the text:
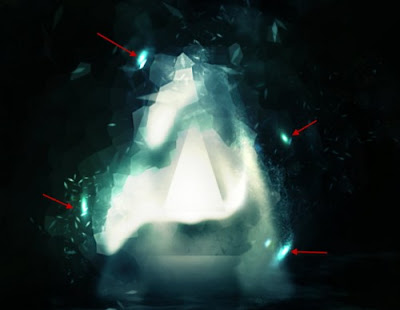
Some further colouring and lighting effect are added as well, with some splatter brush paint using splatter brushes downloaded at the beginning of the tutorial, and here is the final effect I have for this tutorial: (click to enlarge)

That's it for this Photoshop tutorial! I hope you enjoy this and find it useful and inspirational. Till next time, have a great day!
No comments:
Post a Comment